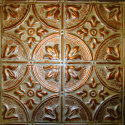
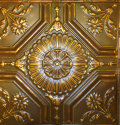
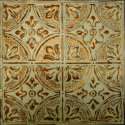
Start from the center of the room or the corner that will be seen first on entering the room and work outward from there. Use chalk lines to make sure teh first panel is nailed in straight. Each Panel is aligned with the next panel and the edges are overlapped. The decorative nails are driven in exactly every 6 inches and become part of the overall pattern.
- Nailup Ceiling
When it comes to cutting and shaping stamped metal ceiling panels, about the only tool that is necessary are a pair of straight tin snips and a pair of aviation snips designed to cut curves. These are particularly helpful when cutting around obstacles like an overhead light box or cutting miters.
- Coutouts
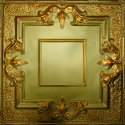
After the ceiling is installed, you will need to cover the gaps along the edge. These are finished with what is called, crown molding. The molding is nailed into the ceiling and into the wall.
The inside corners can easily be cut using a a pair of tin snips. To do this, the first piece of crown molding is trimmed to length with a straight cut and slipped into place.
The second section is then cut on an angle with a notched edge (try scribing the curve to be cut by holding the two lengths of molding agaist each other and tracing). The angled section simply slips over the first, and the notches cut help to blend the corner.
- Crown Molding Inside Corners
If you need to cut any outside corners of your molding, miters can be cut with aviation snips. Hold the two strips as they will meet on the ceiling and scribe teh curved edge on each piece. Score the piece which will be installed secong by cutting 1/8" snips into the metal. To blend the cut edges, first tap the edges gently with a hammer, then use the head of a nail to blend, or caulk, the seam.
- Crown Molding Outside Corners
Any steel material should be coated with an oil-based product for protection and best results.
- Protecting Unfinished Material
If you choose to paint your metal ceiling, be sure you use an oil-based primer and paint as the steel will rust if a water based product is used. Unfinished steel must be cleaned with wax and grease cleaner before painting. Use care not to scratch pre-painted finishes when nailing up ceiling.
- Painting your Ceiling
Metal ceilings require a soft wood substrate in order to nail into place. The easiest way to provide this is to cover you entire ceiling in sheets of 3/8" or 1/2" plywood. This saves time and headache over the course of the installation.
A more traditional method of installing a metal ceiling is to build a grid pattern of 1"x2" or 1"x3" furring strips. First, check the bottom of the ceiling joists to see if there are any bows along the surface. Use a long straight edge, and place it along the bottom of the joist. If there are any variations, you will need to compensate for these later. (Leave any screws attaching the furring strips to the ceiling loose so you can put shims in later.)
The first furring strips are set around the perimeter of the room, according to the molding dimensions on center of the strips. Create a chalk line for a reference point. After the strips are put up around the perimeter, begin attaching the remaining strips from the center of the room outward. Furring strips should be run perpendicular to joists at 6" or 12" intervals across the room.
- Install new furring strips ( or Plywood)
Once all of the strips are in place, use a piece of string to test if the strips lie perfectly flat on the ceiling. Create a loop at each end of a piece of string and then slip the loops over a nail placed at each end of the room. The boards and the string should be even along the entire length of the room.
- Level Furring Strips
If any gaps open up between the string and board, you will need to bring the furring strip down so that it is the same level with the string. This is done using shims, which are wedge shape pieces of wood. Wherever you need to lower a section of the furring strips, loosen the screw and then tap in the shim. The further the shim goes in, the more the furring strip will move downward.
- Bow in Furring Strips
Once the furring strips are up and flat, you will need to add blocking strips running cross-wise in between the furring strips at two-feet intervals to provide a nailing surface on all four sides of each 2'x2' panel.
- Add Cross-strip (Blocking Strips)
Made in the USA
Installation Guides
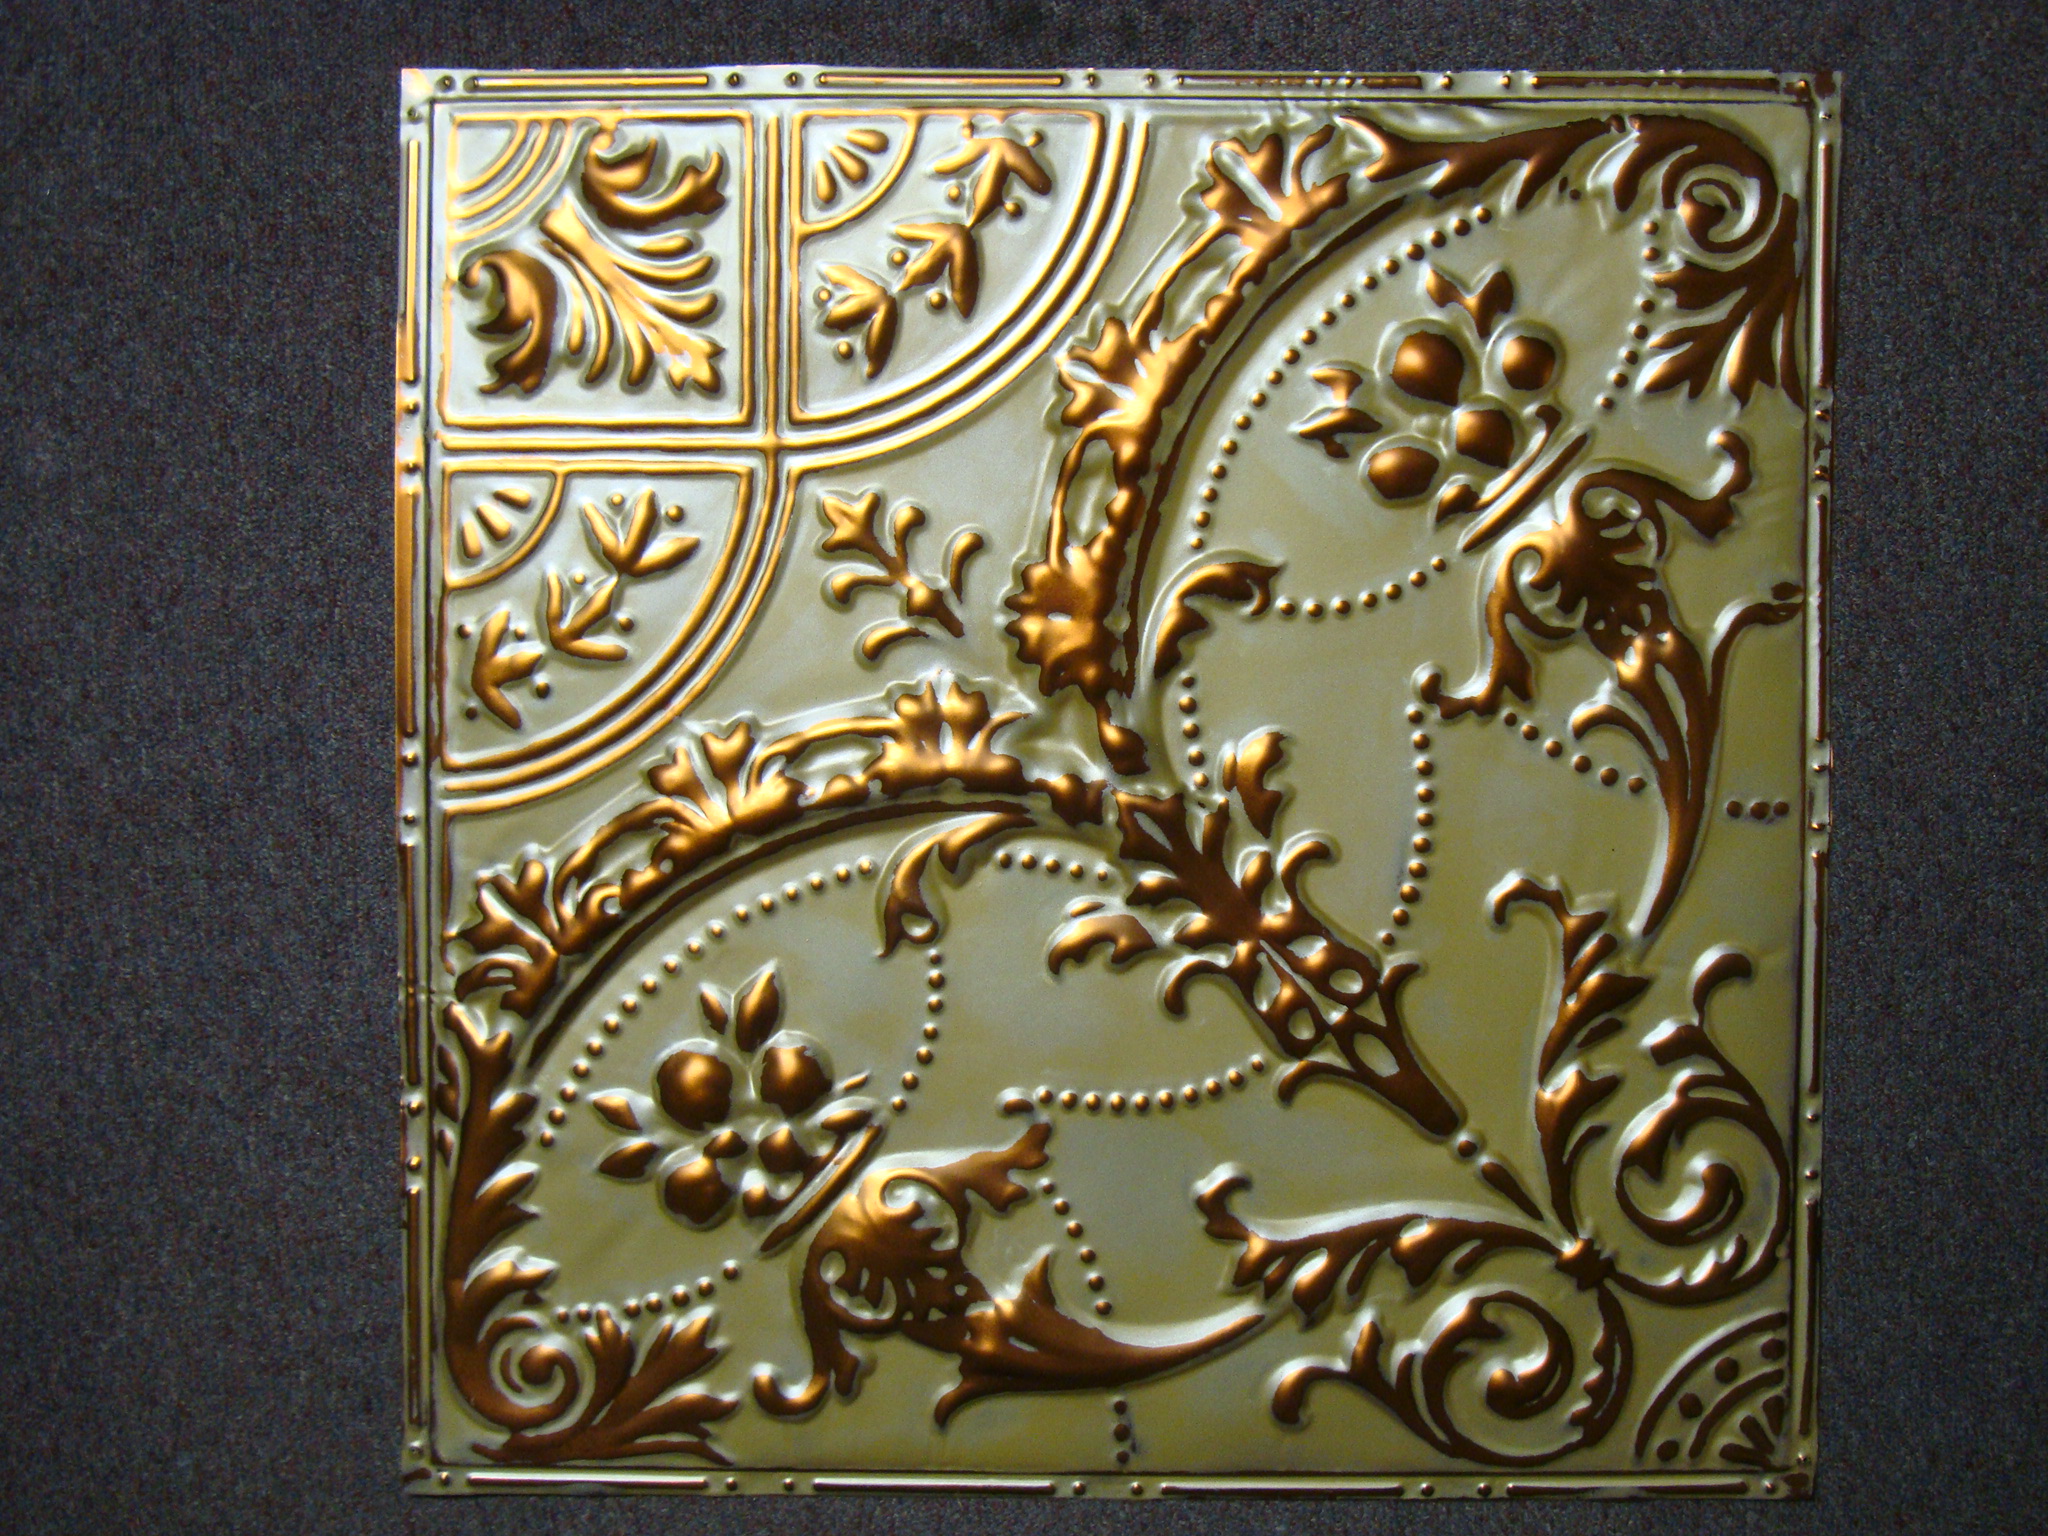
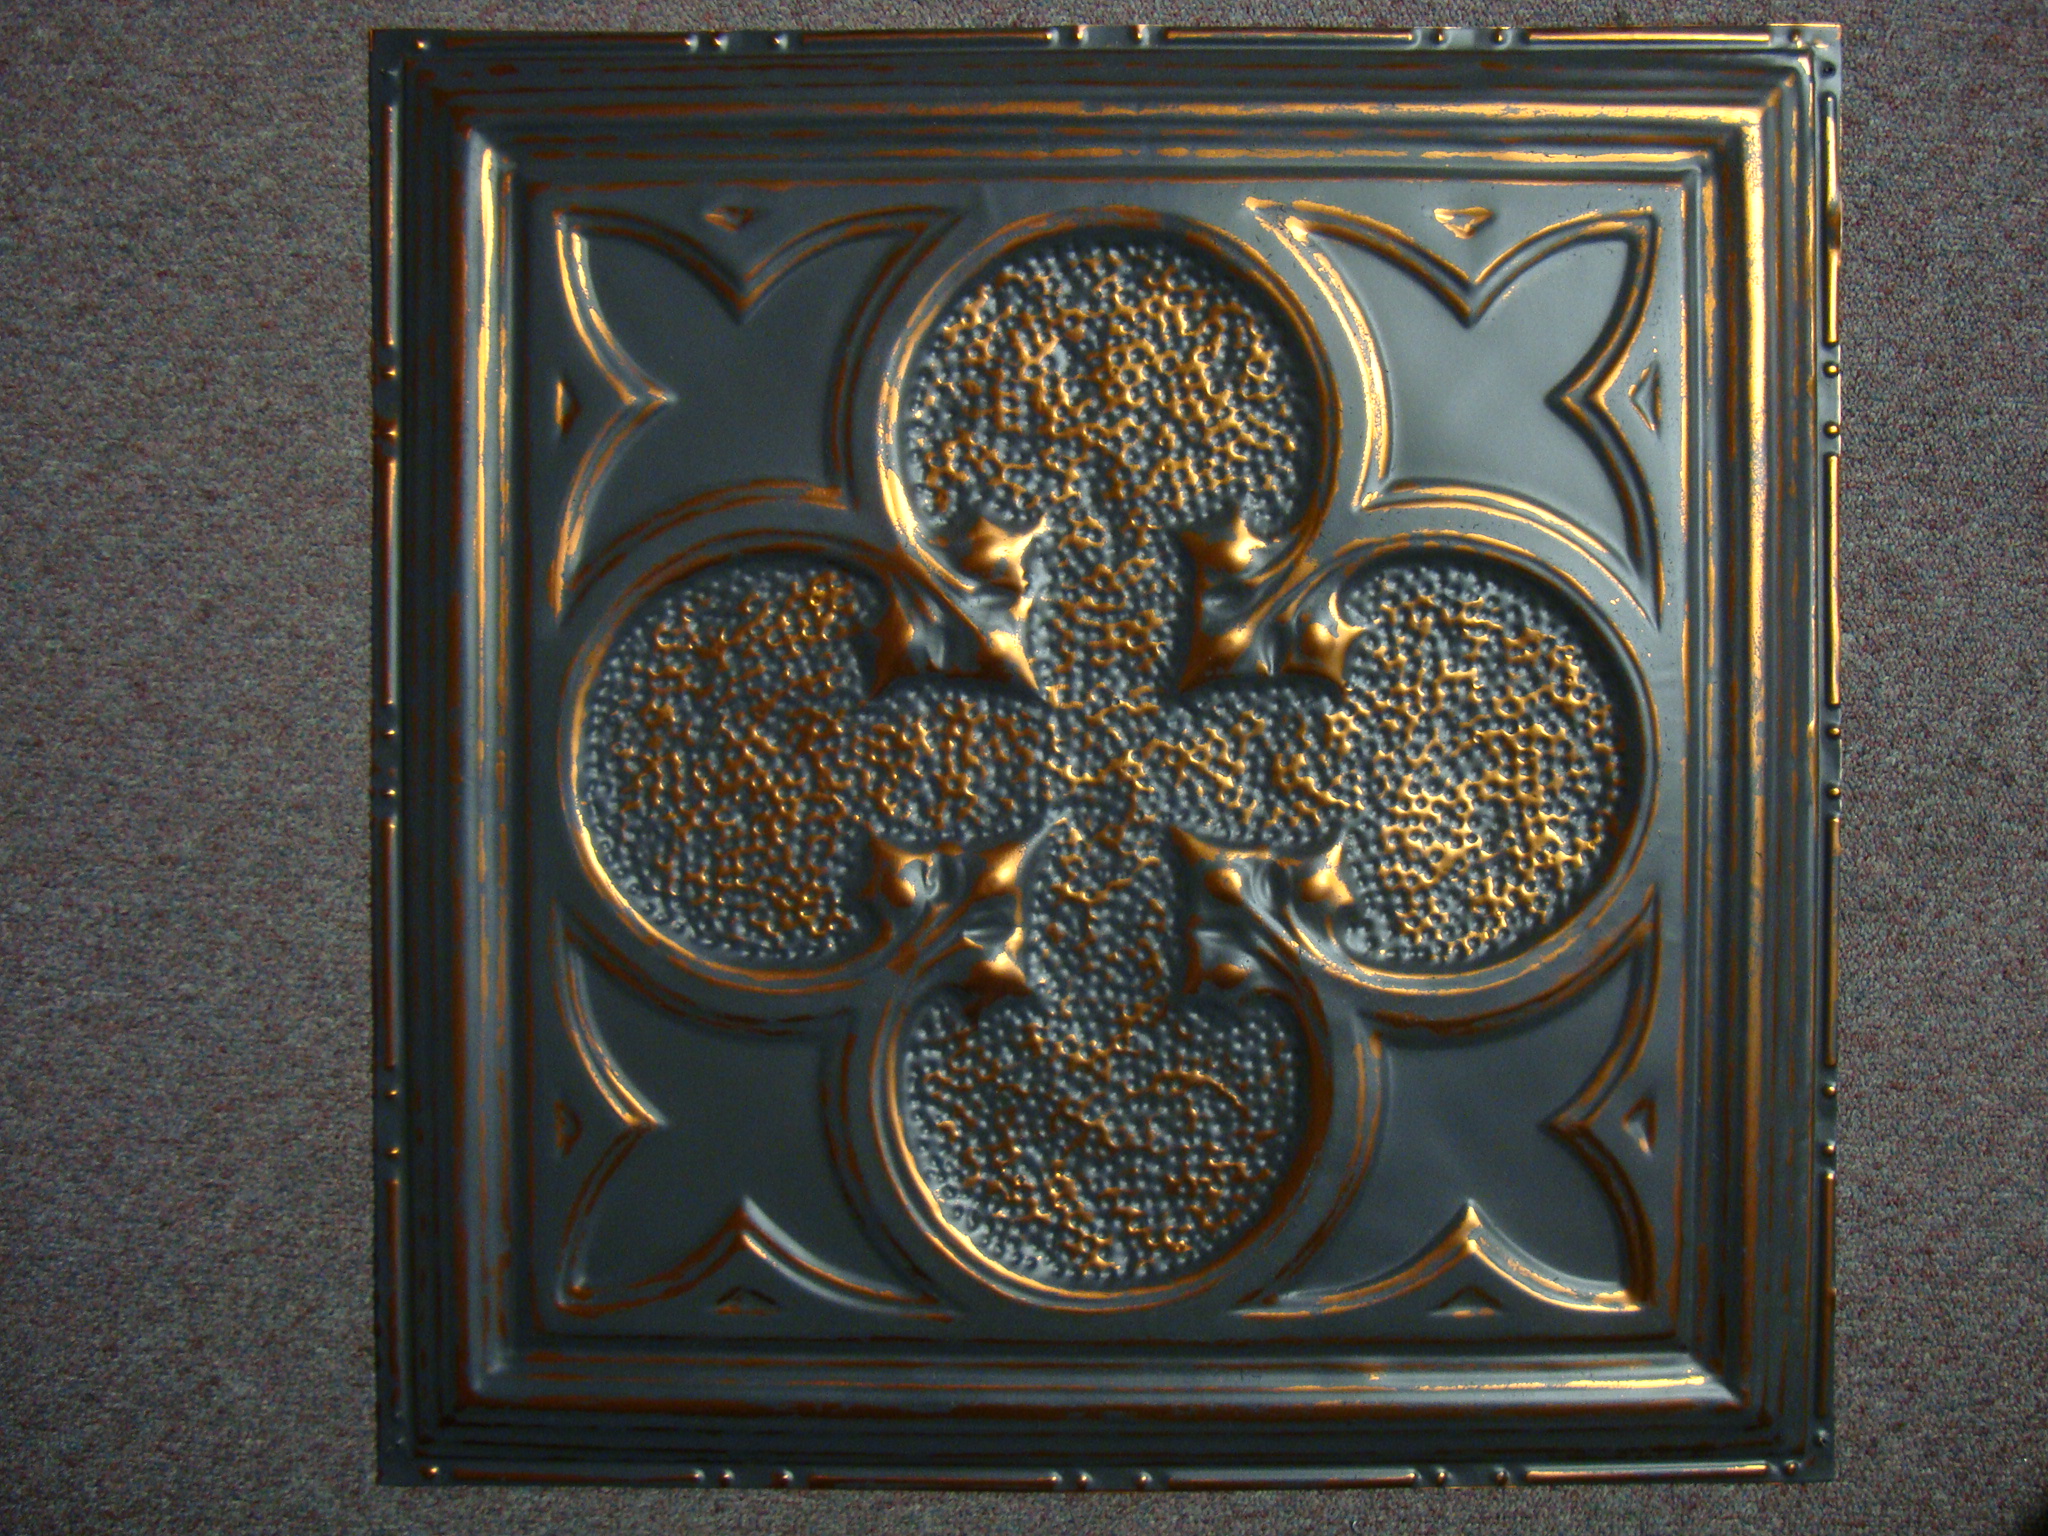
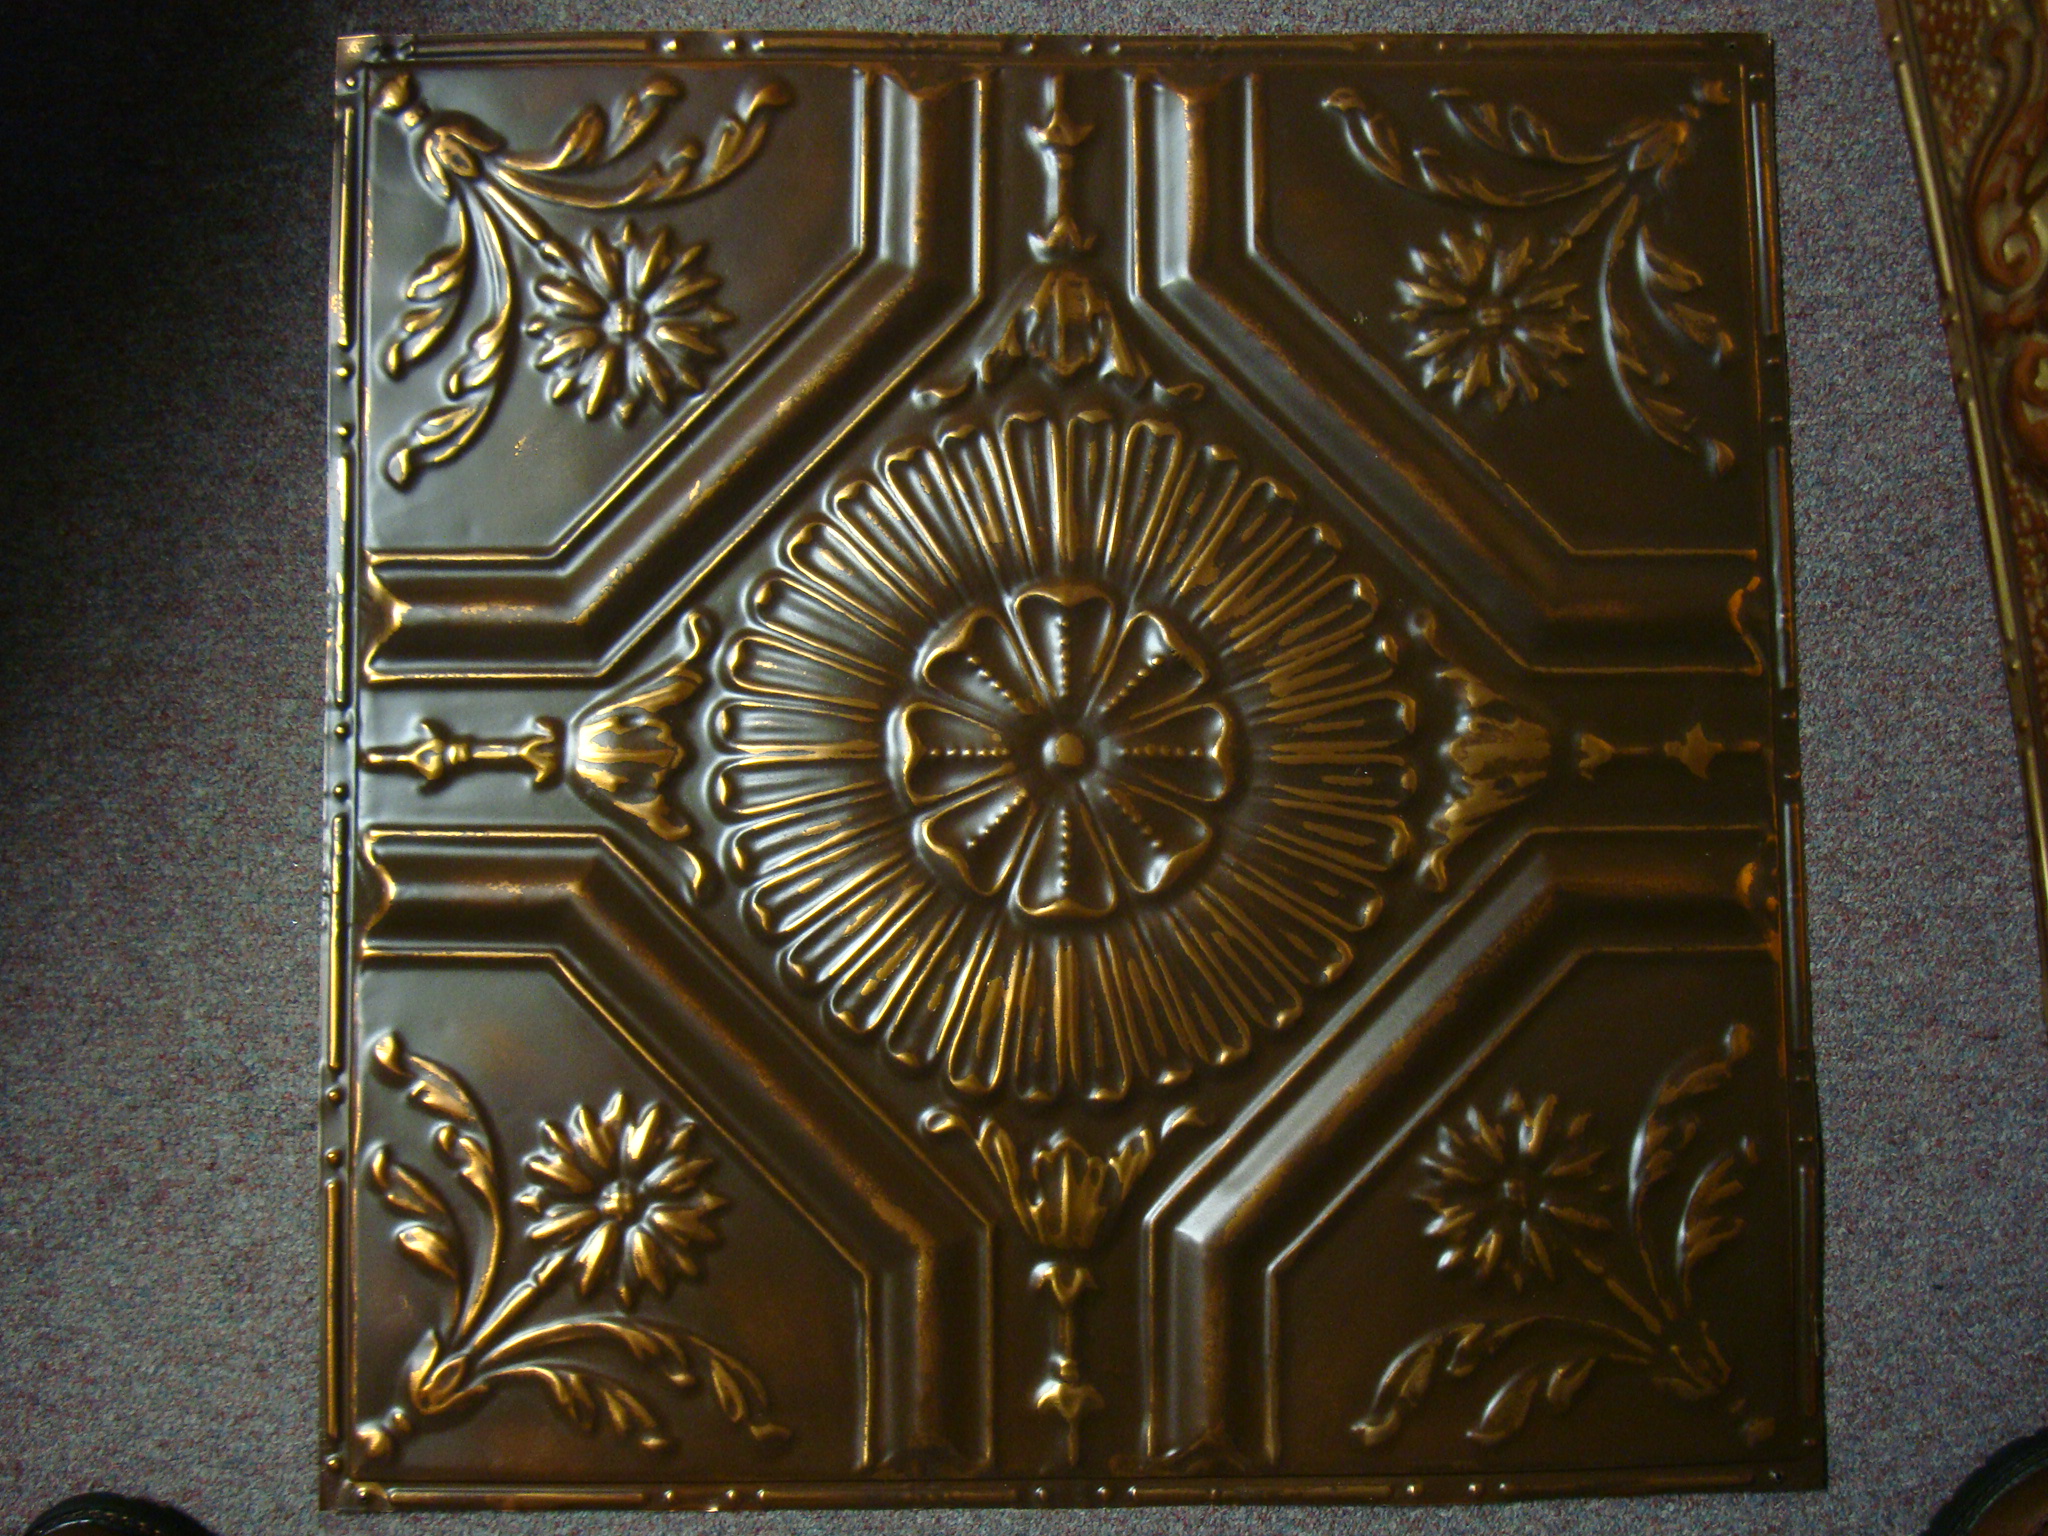
American made Tin Ceiling Tiles
C103 Crown Installation, inside corners.
C103
Nailing up
Crown
Nailing up
Crown
C103 Crown Installation, inside corners.
C103 Crown Installation, outside corners.
Nail rail area:
Nail rail area:
Nail rail area:
Nail rail area:
Nail-up tiles have a nail rail area around the outside edge of the tile. Place nails in between bumps on flat surface and in the corners of the tiles.

MetalCeilingExpress
Call Us: